
Install & run
Setup guide
Welcome to your AI meeting assistant. Install the invisible overlay and start leveraging real-time intelligence in your meetings and interviews.
Download the application
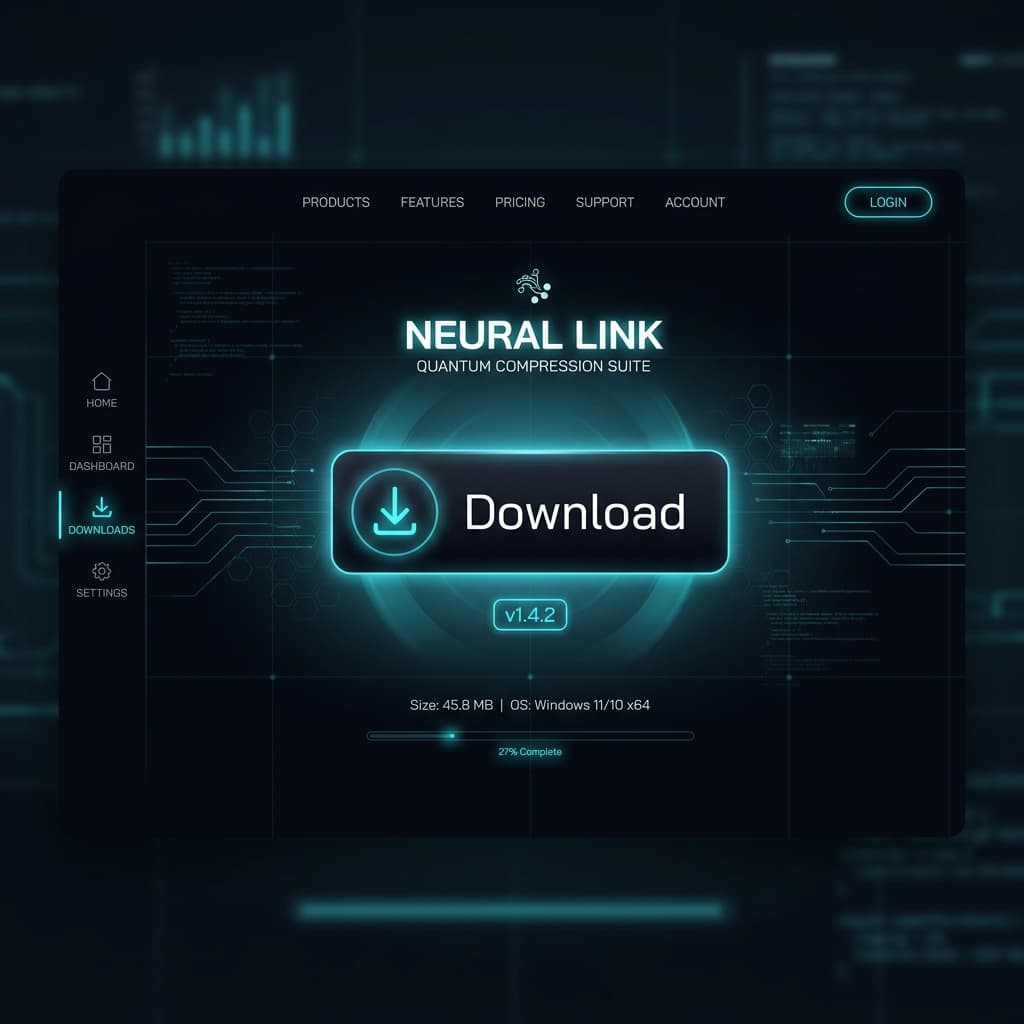
Head to the downloads page and grab the latest release. Extract the folder to a permanent location like Documents or Desktop.
The download is a single portable folder — no installer wizard, no system-wide dependencies. Everything Unviewable needs lives inside the extracted directory.
AI access — usually nothing to do
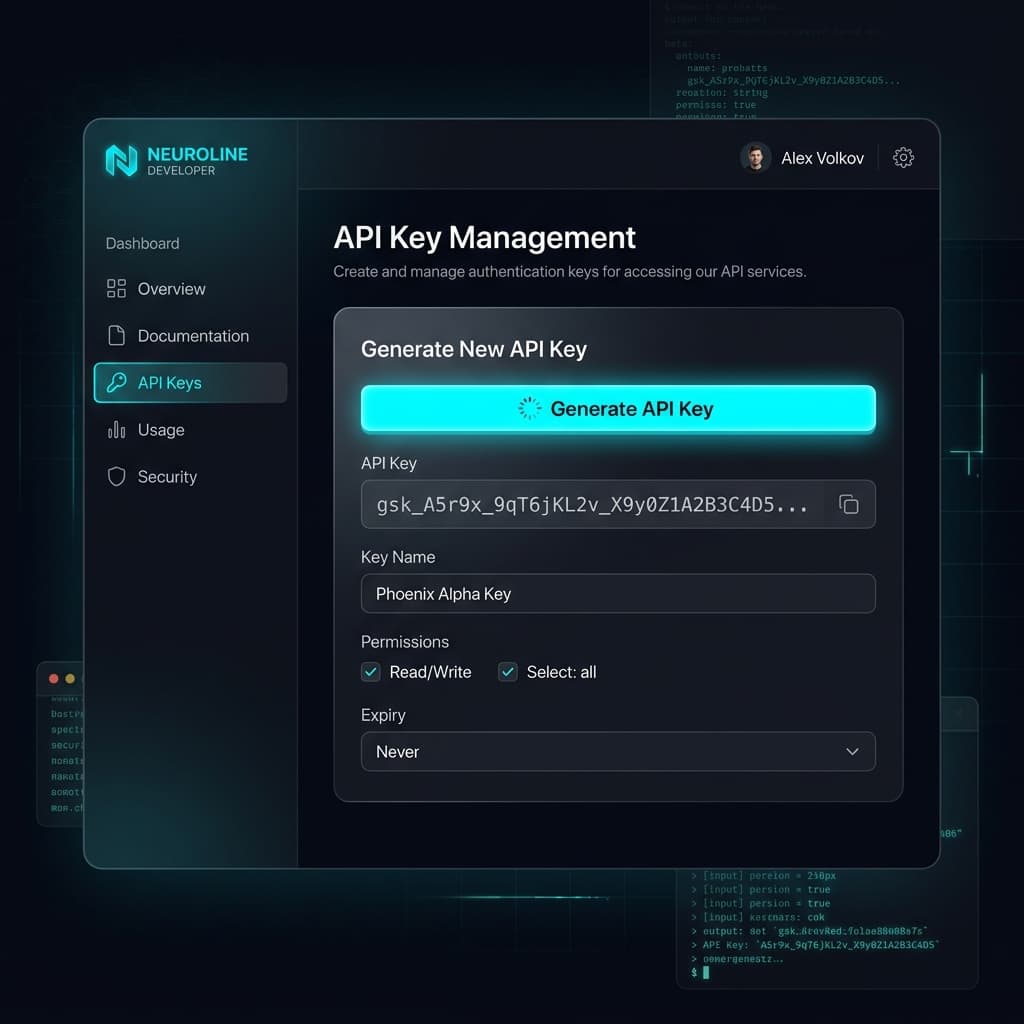
If you have full access, skip this step. Inference is included in your purchase — the platform supplies the AI, and there is no key to create and no usage to pay for.
Otherwise this step is required, or the app will start with AI disabled. Go to Account → API keys, pick a provider, paste the key, and save. Do it once: every device linked to your account picks it up, so a reinstall or a second machine needs no setup.
Three providers are supported:
- Groq — free tier, fastest responses. The usual choice.
- OpenAI — paid, billed by them.
- OpenRouter — one key, many models.
Keys are encrypted before they are stored and are never shown back to you in full. You can save more than one and choose which to prefer.
Sign the app in to your account
Launch the app and choose Sign in. Your browser opens, you approve the device, and the app is linked to your account.
This is what connects the app to whatever you set up in the previous step — your saved provider key, or platform-funded access if you have full access. The app never holds the key itself: it asks your account, and the key is read and decrypted server-side on each request.
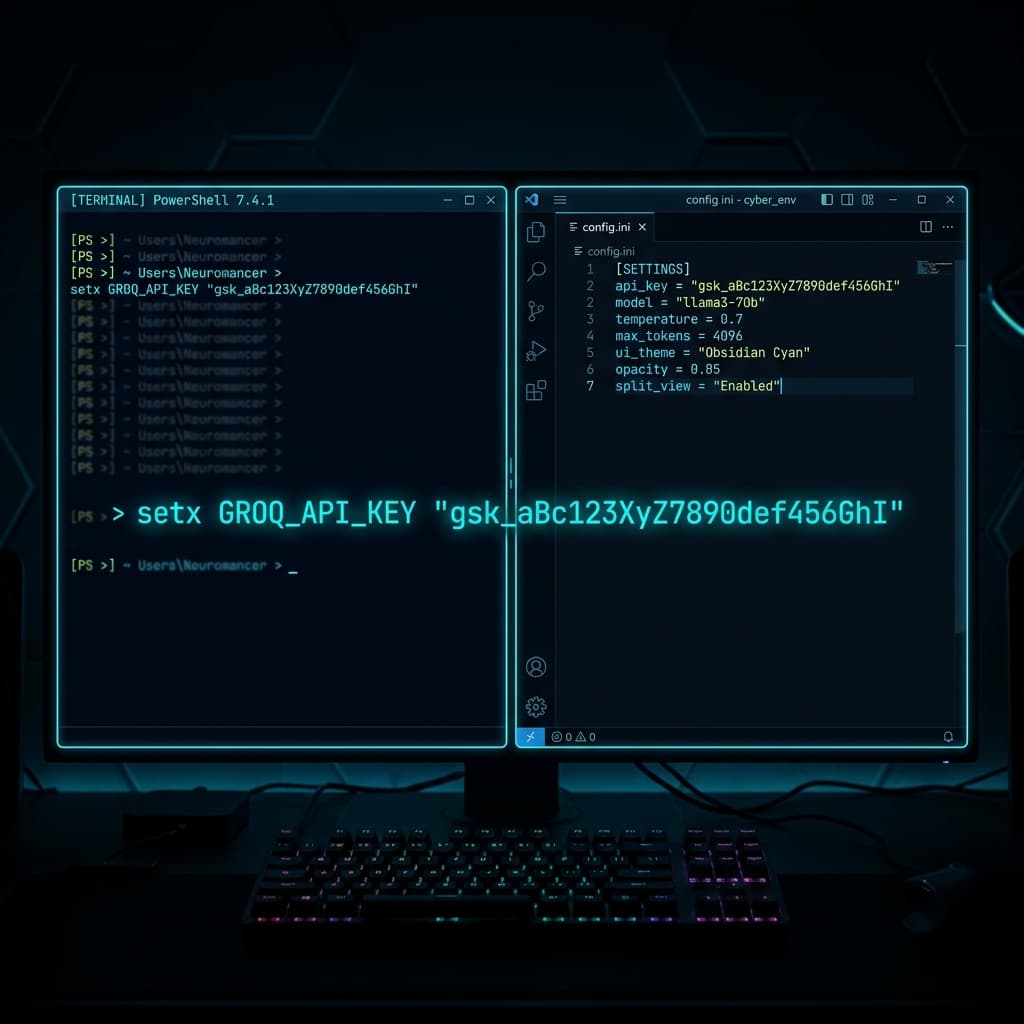
So there is nothing to paste into a config file and no environment variable to set. config.ini still exists for preferences — AI model, font size, panel opacity, hotkeys — but it no longer holds credentials.
Launch the app
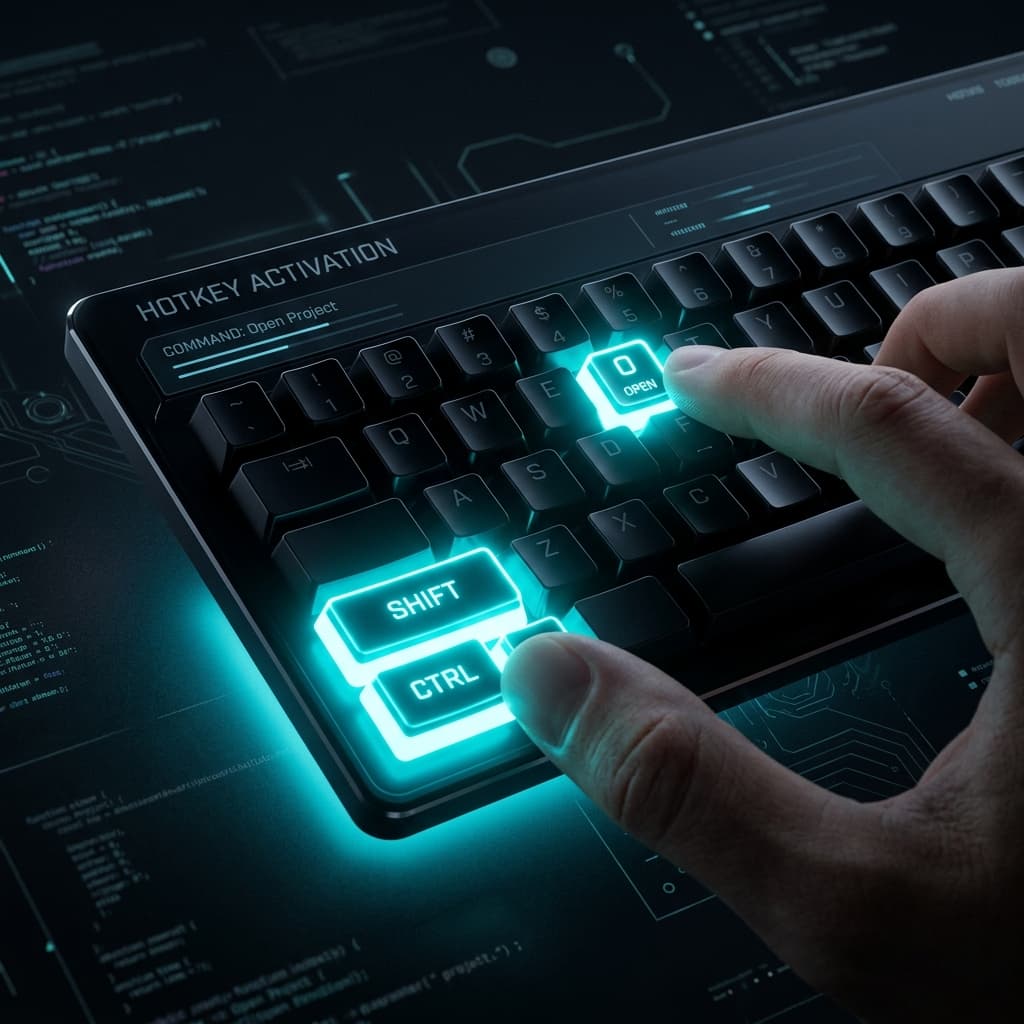
Double-click InvisibleOverlay.exe to start. The overlay attaches to your display and becomes invisible to screen-capture tools immediately. You'll see a system tray icon confirming it's running.
The app starts listening to system audio automatically — no virtual cables, no extra setup needed.